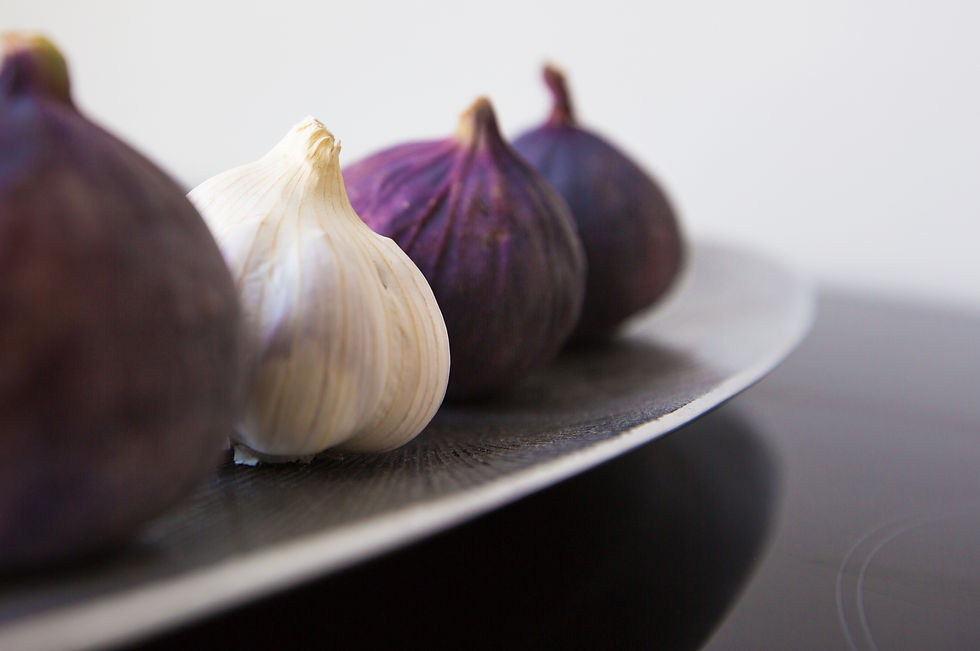
I have made several batches of it and it’s become a staple in my kitchen – I find it hard to cook if I’m out of it. It has such a strong, robust aroma and it doesn’t take much to flavor your dish. Sometimes I find that I like to add just the liquid to my dish, like adding to melted butter to make shrimp scampi. And as noted in the recipe, if you run low on brine, you can always add more.
You can leave the garlic cloves whole or chop in the food processor-I like to chop them into a minced texture because I find it more flexible. A pint could last as long as 6-9 months depending on how much you like garlic in your cooking. It sounds like a big job to peel that much garlic, but the rewards are most gratifying, and you don’t have to do it very often.
Note that the recipe calls for adding herbs if you desire. I’ve never done that because I use the garlic in such a variety of dishes and think that an herb might be limiting.
Recipe
I adapted this recipe from Nourishing Traditions, The Cookbook that Challenges Politically Correct Nutrition and the Diet Dictocrats, by Sally Fallon with Mary G. Enig, Ph.D.
Garlic added to any dish adds a strong, pungent flavor, especially when raw.But sometimes that heat is a bit too much. Lacto-fermenting is one way to enjoy garlic with all the enzymes and nutrients intact (raw) but without all the heat.
Lacto-fermenting garlic mellows it to a cross between raw and roasted garlic. And because it is simply brined whole cloves it is easy to do. The most work you’ll be doing is peeling the garlic.
Yields 1 pint
Ingredients
Approximately 6-7 heads of garlic
1 pint water
2 tsp sea salt
2 Tbsp raw whey
Herbs such as basil or oregano if desired
Instructions
Peel garlic.
Either chop garlic or leave whole
Fill a pint jar within 1 inch of the top with the garlic cloves
Pour water, salt, whey, and herbs over garlic cloves, leaving 1” head space
Secure lid but not tightly
Allow to ferment for 3 days at room temperature before moving to cold storage
The longer it sits in cold storage the more delicious it gets!
If you run low on brine, just add some more water.
If you run out of brine, add water, salt and whey. Allow to sit on the counter for 3 days then return to cold storage.

ความคิดเห็น